A Cartographer’s Gaze: Unveiling the Secrets and techniques of Solstheim’s Map
Associated Articles: A Cartographer’s Gaze: Unveiling the Secrets and techniques of Solstheim’s Map
Introduction
With nice pleasure, we’ll discover the intriguing subject associated to A Cartographer’s Gaze: Unveiling the Secrets and techniques of Solstheim’s Map. Let’s weave fascinating data and provide recent views to the readers.
Desk of Content material
A Cartographer’s Gaze: Unveiling the Secrets and techniques of Solstheim’s Map

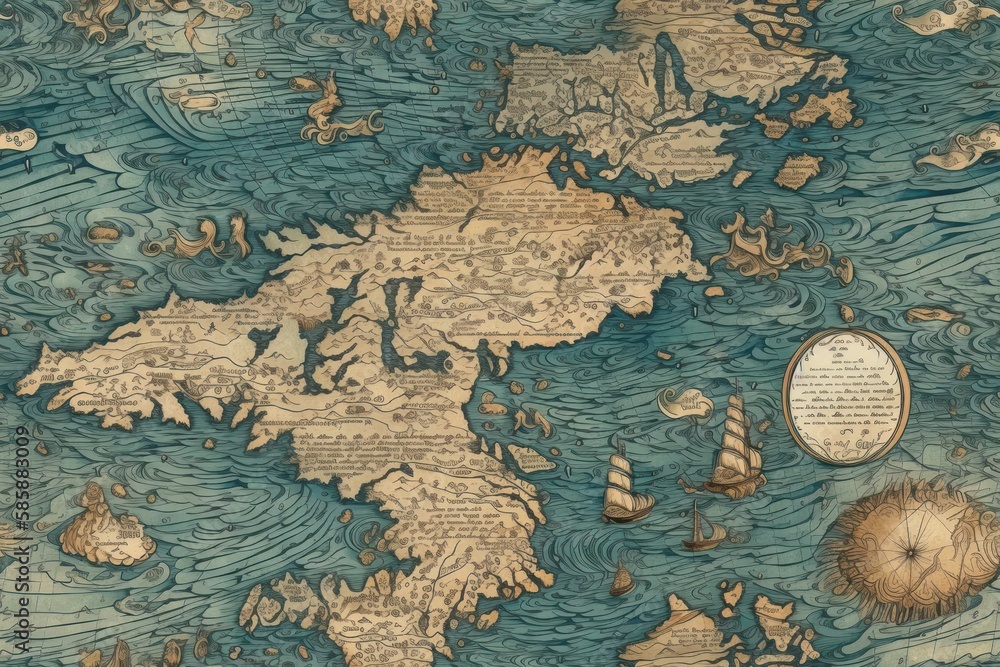
Solstheim, the volcanic island south of Skyrim in Bethesda’s The Elder Scrolls V: Dragonborn, is greater than only a breathtaking growth; it is a meticulously crafted panorama brimming with lore, secrets and techniques, and geographical intrigue. Its map, whereas seemingly simple at first look, reveals layers of complexity upon nearer examination, reflecting the island’s tumultuous historical past and distinctive ecology. This text delves into the intricacies of Solstheim’s cartography, exploring its key geographical options, their significance throughout the sport’s narrative, and the delicate particulars that contribute to its immersive and plausible world.
The Island’s Spine: Volcanic Affect and Geographical Divisions
Solstheim’s map is instantly dominated by the imposing presence of Mount Ebonheart, a colossal, lively volcano that serves because the island’s geographical and thematic coronary heart. Its eruption, a defining occasion in Solstheim’s historical past, formed the panorama and continues to affect its local weather and ecology. The ashfall, seen even on the map as a darkened hue throughout a lot of the island’s southern areas, speaks volumes concerning the volcano’s enduring energy.
The map’s geography might be broadly divided into a number of distinct zones, every with its personal distinctive traits:
-
The Ash Wastes: Positioned primarily south of Mount Ebonheart, this desolate area is characterised by its barren, volcanic panorama. The map showcases the sparse vegetation, the jagged, ash-covered terrain, and the winding paths that hardly lower via the desolate expanse. The scattered ruins and deserted settlements trace at a previous civilization overwhelmed by the volcano’s fury, including a layer of historic depth to the area’s visible illustration.
-
The Skaal Villages: Nestled amongst the extra hospitable northern areas, these settlements are depicted as clusters of buildings close to sources of water and fertile land, highlighting the Skaal’s adaptation to the difficult atmosphere. Their proximity to the coast and their comparatively remoted places on the map mirror their self-sufficient and community-oriented life-style. The map subtly underscores their connection to the land, suggesting a harmonious relationship between the Skaal and their environment.
-
Raven Rock: The island’s foremost settlement, Raven Rock, is strategically positioned on the coast, providing a pure harbor and a vantage level for commerce and protection. Its location on the map displays its significance as a hub for exercise on Solstheim, some extent of connection to the broader world. The proximity of the mining operations to the city on the map visually reinforces the financial significance of the mining trade to Raven Rock’s prosperity.
-
The Shoreline: The intricate shoreline, meticulously detailed on the map, showcases the island’s various geography. The rocky cliffs, sandy seashores, and hidden coves are all depicted, offering a way of the island’s different ecosystems and potential for exploration. The map’s illustration of the shoreline additionally subtly hints on the alternatives for maritime commerce and the potential risks of navigating the treacherous waters surrounding Solstheim.
-
The Glacial Areas: To the north and west, glaciers and ice formations dominate the panorama. The map subtly conveys the harshness of those areas, indicating the challenges confronted by these venturing into these unforgiving territories. The scattered ruins and hidden places inside these areas, prompt quite than explicitly proven on the map, encourage exploration and discovery.
Past the Topography: Lore Embedded within the Map
The Solstheim map is not only a visible illustration of the island’s geography; it is a delicate storyteller, hinting on the island’s wealthy historical past and lore via its placement of key places:
-
The Forgotten Shrine of Azura: Its secluded location, depicted on the map as nestled amongst the rugged terrain, displays its hidden nature and the mysterious energy it holds. Its placement away from main settlements highlights the Shrine’s isolation and its significance as a spot of pilgrimage for these looking for Azura’s favor.
-
Bloodskal Barrow: The map’s positioning of this historic Nord tomb emphasizes its remoted location, suggesting its isolation and the hazards it holds. Its placement throughout the ash wastes provides to the sense of thriller and the potential for uncovering misplaced historical past.
-
Tel Mithryn: The placement of Neloth’s tower, perched atop a excessive cliff overlooking the coast, is depicted on the map to emphasise its dominance and the mage’s remoted energy. Its visible prominence displays Neloth’s important position within the sport’s narrative.
-
Windstone: This historic smash, proven on the map as a comparatively remoted location, hints at its forgotten historical past and the potential for uncovering misplaced data. Its place close to the coast suggests a potential connection to maritime commerce or historic seafaring traditions.
The Map’s Limitations and the Participant’s Function
Whereas the Solstheim map offers a complete overview of the island’s main options, it additionally leaves room for exploration and discovery. It would not explicitly mark each cave, smash, or hidden location, encouraging gamers to enterprise off the overwhelmed path and uncover the island’s secrets and techniques for themselves. This ambiguity is a key aspect of the sport’s design, emphasizing the participant’s position in actively shaping their expertise.
The map’s scale additionally performs a vital position in creating a way of immersion. Whereas it offers a broad overview, the main points are sometimes suggestive quite than exhaustive, encouraging gamers to discover the atmosphere and uncover its intricacies firsthand. This leaves room for the participant’s creativeness to fill within the gaps, enhancing the general sense of exploration and discovery.
Conclusion: A Map as a Narrative Device
The map of Solstheim is greater than only a navigational instrument; it is a rigorously crafted aspect of the sport’s design, reflecting the island’s distinctive geography, historical past, and lore. Its delicate particulars, from the ashfall patterns to the strategic placement of key places, contribute to the immersive and plausible world of The Elder Scrolls V: Dragonborn. By understanding the nuances of Solstheim’s cartography, gamers can acquire a deeper appreciation for the island’s wealthy tapestry of historical past, tradition, and atmosphere, enriching their general gaming expertise. It serves as a continuing reminder that even probably the most seemingly easy map can maintain a wealth of knowledge, sparking curiosity and inspiring exploration, finally shaping the participant’s journey via this volcanic wonderland. The map, subsequently, is not only a information; it is a story ready to be unfolded, one rigorously plotted location at a time.


Closure
Thus, we hope this text has offered worthwhile insights into A Cartographer’s Gaze: Unveiling the Secrets and techniques of Solstheim’s Map. We hope you discover this text informative and helpful. See you in our subsequent article!